I gathered my old photos, scanned many of them, and began scrapping.
  |
| 1985 and 1991 |
I made some mini-albums - notably one for my husband's 50th birthday, and one for each of my boys (2 sons and hubby) for when they "drove race cars" in Georgia. It was really a one-day racing "school" for hubby's 50th birthday.
 |
| 2007 |
Then I was introduced to stamping at a Stampin Up party. Woo Hoo!! as my favorite sales rep says. And I was hooked!! hook, line, and sinker!!
I don't remember exactly when I started making cards -- but I signed up on Splitcoast Stampers to post some of my cards in 2008. You can see my online gallery here .
Finally last summer I joined the blog world. I am a teacher, so my most prolific time for creating and posting is, of course, the summer. I also seem to find this is the time that many other blogs and challenges slow down -- probably because most have young children at home.
I started to store my belongings along a wall in our dining room.
+(2).jpg) |
| One book shelf, and some plastic drawers - circa 2009 |
You get the idea -- stuff was everywhere!!!
Here are some photos of my "scrapbook room / dining room" in November 2012.
 |
Table set for Thanksgiving dinner -- notice towels covering parts of the shelves and a DVD storage tower, to protect paper and stamps from sunlight 
My work space -- which was great when I didn't need the table for company!!
|
Well, I took the bigger room to turn into my craft room. Finally the room is done! Yipee!! Take a look at my Scrap Room tab.
2013 --- Come on in for the tour! All friends are welcome!

 |
| construction begins - fall 2012 |
As you enter the room, this is what you see. You can see the light from the only window on the right side of this first picture: (overhead is a ceiling fan with light)
  |
| the view from the door |
I just had to buy the new sizzix big shot -- it matched my décor! The small wall shelves were a garage sale find from many years ago - I always hoped for a place to hang them, and finally here they are! They store several jars filled with buttons.

These drawer units are from Chandler Creations. They are a bit pricey - but you can configure them however you'd like. I was able to get them on sale. Be sure to ask for the sales. I only have the 2 and 3 inch drawers. I found the 1 inch drawer was not useful to me. I store more stamps (by theme - I think if you click on the pix, you can see some of my labels). I also store extra glue, punches, etc.


The dark brown table was a hand-me-down from my in-laws. The sides fold down if I need more floor space. The dark brown "colonial dry sink" was thrown out by neighbors, and I repurposed it for here. My copic markers are in plastic drawer units on the top shelf of the dry sink. My 8 1/2 by 11 cardstock are in the bottom. Baskets on the dry sink hold my acrylic blocks and glues.To the right of this dry sink unit is the closet:
 |
| In front is an ink storage spinner Want to look inside the closet? |
 |
| holiday paper shelves on the left - I purchased these shelves from a store that went out of business years ago. |
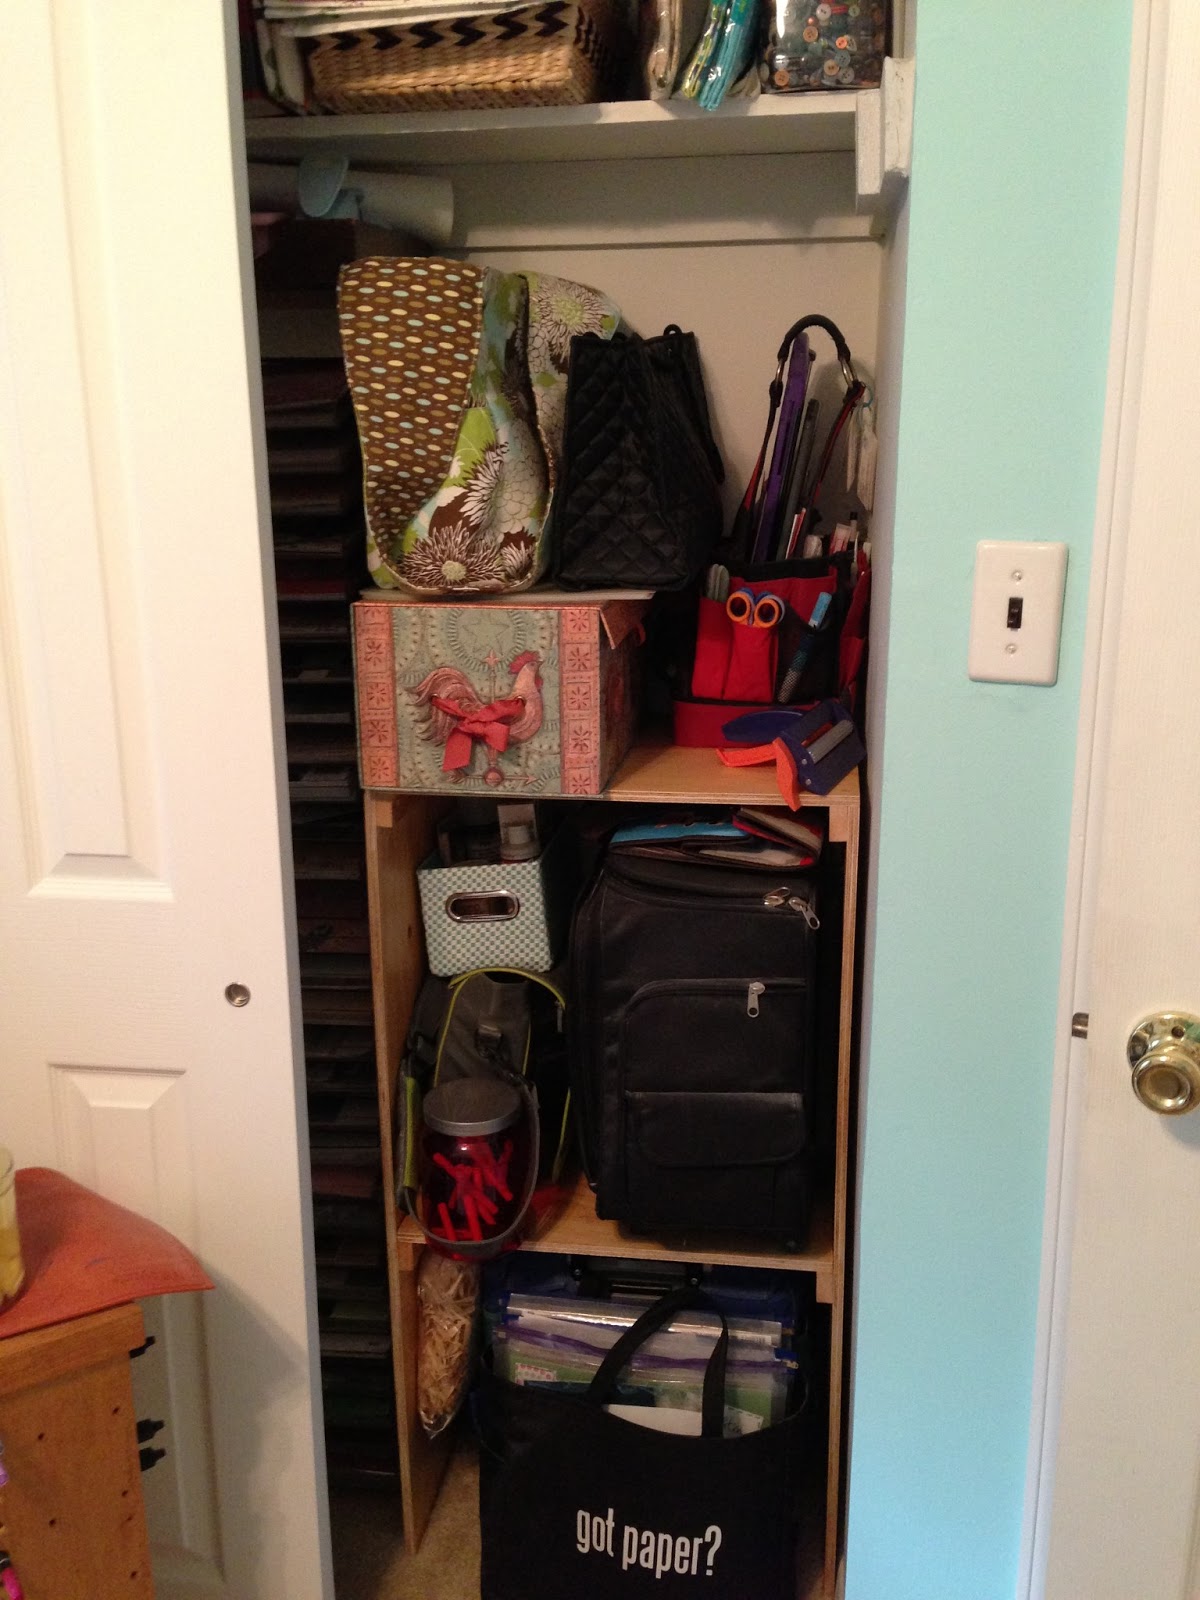 |
| homemade storage shelves |
Now if we continue to circle to the right we will be looking at the door.
Below is the view looking towards the door. On the back of the door is an over-the-door shoe holder -- which stores my border punches and shape punches. The curtain is from Pier One and covers my ribbon rings . The small cabinet is the multimedia cabinet in the Harbor View Furn-A-Kit collection to store my Paper Trey Ink and Stampin Up stamp sets.


 |
| ribbon rings |
 |
| the media cabinet open |
Well that about does it. I love my space.
It couldn't have happened without my wonderful husband! He helped research and shop for the furniture. I found some real inexpensive pastel color drawer handles and chain pulls at Michaels. He was able to modify them to put on the cabinets and wall shelves. And of course he did the construction.
If you have any questions, please ask.
 |
| My scrappin friends creating cards July 2013 |
No comments:
Post a Comment